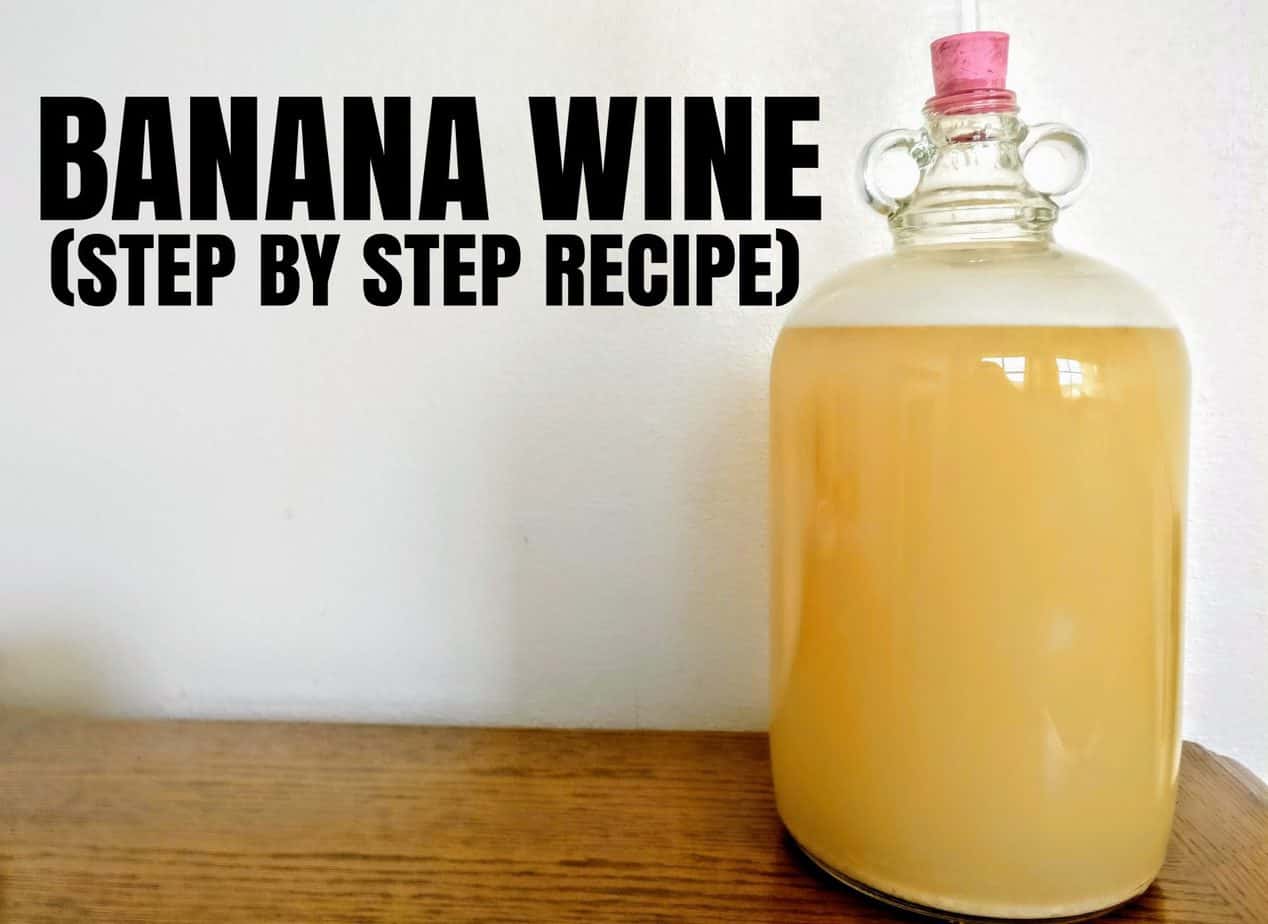
Banana wine… By far this recipe has been one of my most favourite creations, the easy to follow instructions are suitable for both beginners and the experienced home brewers.

Banana Wine
An easy to follow step by step Banana Wine recipe, suitable for any beginner brewer and costs pennies to make.
Equipment
- 2 large Saucepans
- 1 Potato Masher
- 1 Ladle
- 1 Sieve
- 1 Muslin Cloth (Pillowcase or Tea Towel)
- 1 Funnel
- 1 4.5ltr Demijohn (or fermenting bucket)
- 1 Airlock
- All of the equipment must be sterilised apart from the saucepans
Ingredients
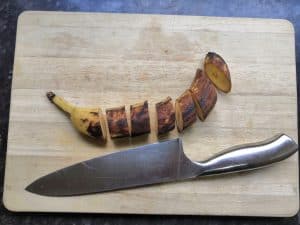
- 1.2 Kg Bananas (old and brown are best)
- 200 g Sultanas
- 900g Sugar
- 1 Lemon
- 1 Teabag (black tea)
- 1 Wine Yeast
Instructions
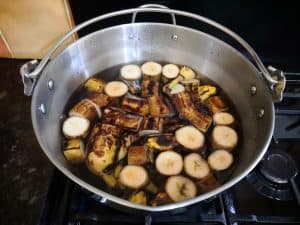
- Add about 4 litres of water to your largest pan.
- Roughly chop your bananas (including the skin) and add to the pan, along with the sultanas.
- Slowly bring the pan to the boil, once boiling, turn it down and let it simmer.
- While the pan is simmering, boil the kettle and add the teabag to a mug of boiling water and leave to brew.
- Extract the juice from you lemon and add it to the pan.
- Once the bananas and Sultans have been simmering for about 5 minutes you can start using the masher to gently mash the ingredients in the water, this will help the juices infuse with the water. Continue doing this until you can no longer feel any chunks in the water, this should take about 5 minutes or so depending on the size of your chunks. (Be careful with this step, the water is boiling and over enthusiastic mashing will cause splashes of hot liquid!)
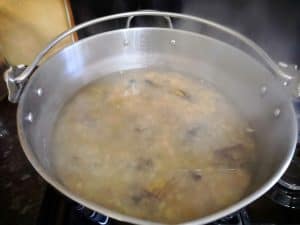
- Remove the teabag from the mug and add it to the pan, and give it a quick stir, this will add tannin which helps to give body and a balanced flavour to the wine.
- Turn off the heat from the saucepan, put a lid over the pan (or tea towel) and leave the the liquid to cool a little. (If you have plenty of time you could leave this overnight, helping it to develop a stronger flavour.)
- Once the liquid has cooled for a few minutes you can start filtering it into a clean saucepan using the sieve, muslin and ladle. (Be careful not to squash the juice through the cloth, this will cause unwanted particles to be pushed through and take much longer for your wine to clear.)
- Once all of the liquid has been strained from the pulp you can add the liquid back into the original (cleaned) pan.
- Bring the liquid back to the boil quickly, then carefully add the sugar to the pan while gently stirring it. Once the sugar has dissolved you can turn the heat off. This process just ensures that that all liquid is completely sterile when going into your Demijohn.
- If your saucepan has a lid, put it on and leave the pan to cool for about an hour, if it doesn't you can cool the pan down in a a sink full of cold water.
- Once the liquid has cooled enough for you to able to easily handle it without gloves, you can add the liquid to you Demijohn using your sterilised funnel. Once filled put your sterilised Airlock on straight away. (Don't try and add boiling water to the Demijohn as this can cause it to smash.)
- If you are using Pectolase you can add this now. (Pectolase will help your wine clear slightly quicker, I don't find any real benefit from using it personally)
- Add the yeast, use the quantity stated on the packaging.
- Now your wine can start fermenting! For best results keep it in a warm dark place without fluctuating temperatures like an airing cupboard.
Racking
- I found this wine was full of sediment and cleared quite quickly, I racked it after 1 week, at 3 weeks, again at 6 weeks and then I did one final rack once it had stopped fermenting.
Bottling
- You can bottle the wine once it has cleared and finished fermenting, usually after at least 3 months. I like to wait to between 6 and 12 months personally. If you bottle before it has finished fermenting then it can explode in the bottles, if you are new to winemaking I would suggest you use a stabiliser which will kill off any active yeast.If the wine still has a lot of sediment in it at the bottling stage you may find it can make an off flavour in your wine. This wine will need at least 1 year in the bottle to allow the flavours to properly develop, make sure you don't drink it all, save a few back to mature!
I enjoyed watching your video on banana wine. Actually cant wait for your finished product and you bottling it.
Hi John, Thank you so much for your lovely comment, much appreciated.
Nice. Im making mine right now. Im new to wine making and I’m super excited. I’m actually a bit scared because of the other materials I’ve read about methanol build up but you madenit seemed pretty easy so I’m gonna give it a try. Fingera crossed..😄
Hope it is all going well for you.
Hi Erica,
I love your wine recipe. I tried it myself and fermentation is going great. I used baking yeast instead of champagne yeast. I just wanted to know about something as it’s my first time. Can this wine go toxic in any case? How should I test the wine is safe to drink? How to find out the alcohol percentage? And for how many days should I allow it to ferment? Once again thanks for the recipe.
Regards.
To measure the alcohol percentage you can use a hydrometer.
You have to let the wine to ferment just until there is (almost) no activity more in the air lock. The you have to put the wine into another bottle always using the air lock. Once there is no activity more in the air lock and the wine is clear then you can put the wine into botles.
Sorry for my poor English.
Love this recipe, have you go the link to the large pan you are using please?
Hello, sorry for the late reply, here is the link for the exact one I use https://amzn.to/38X1T9T
Like!! Great article post.Really thank you! Really Cool.
Like!! Thank you for publishing this awesome article.